How I make my Rings
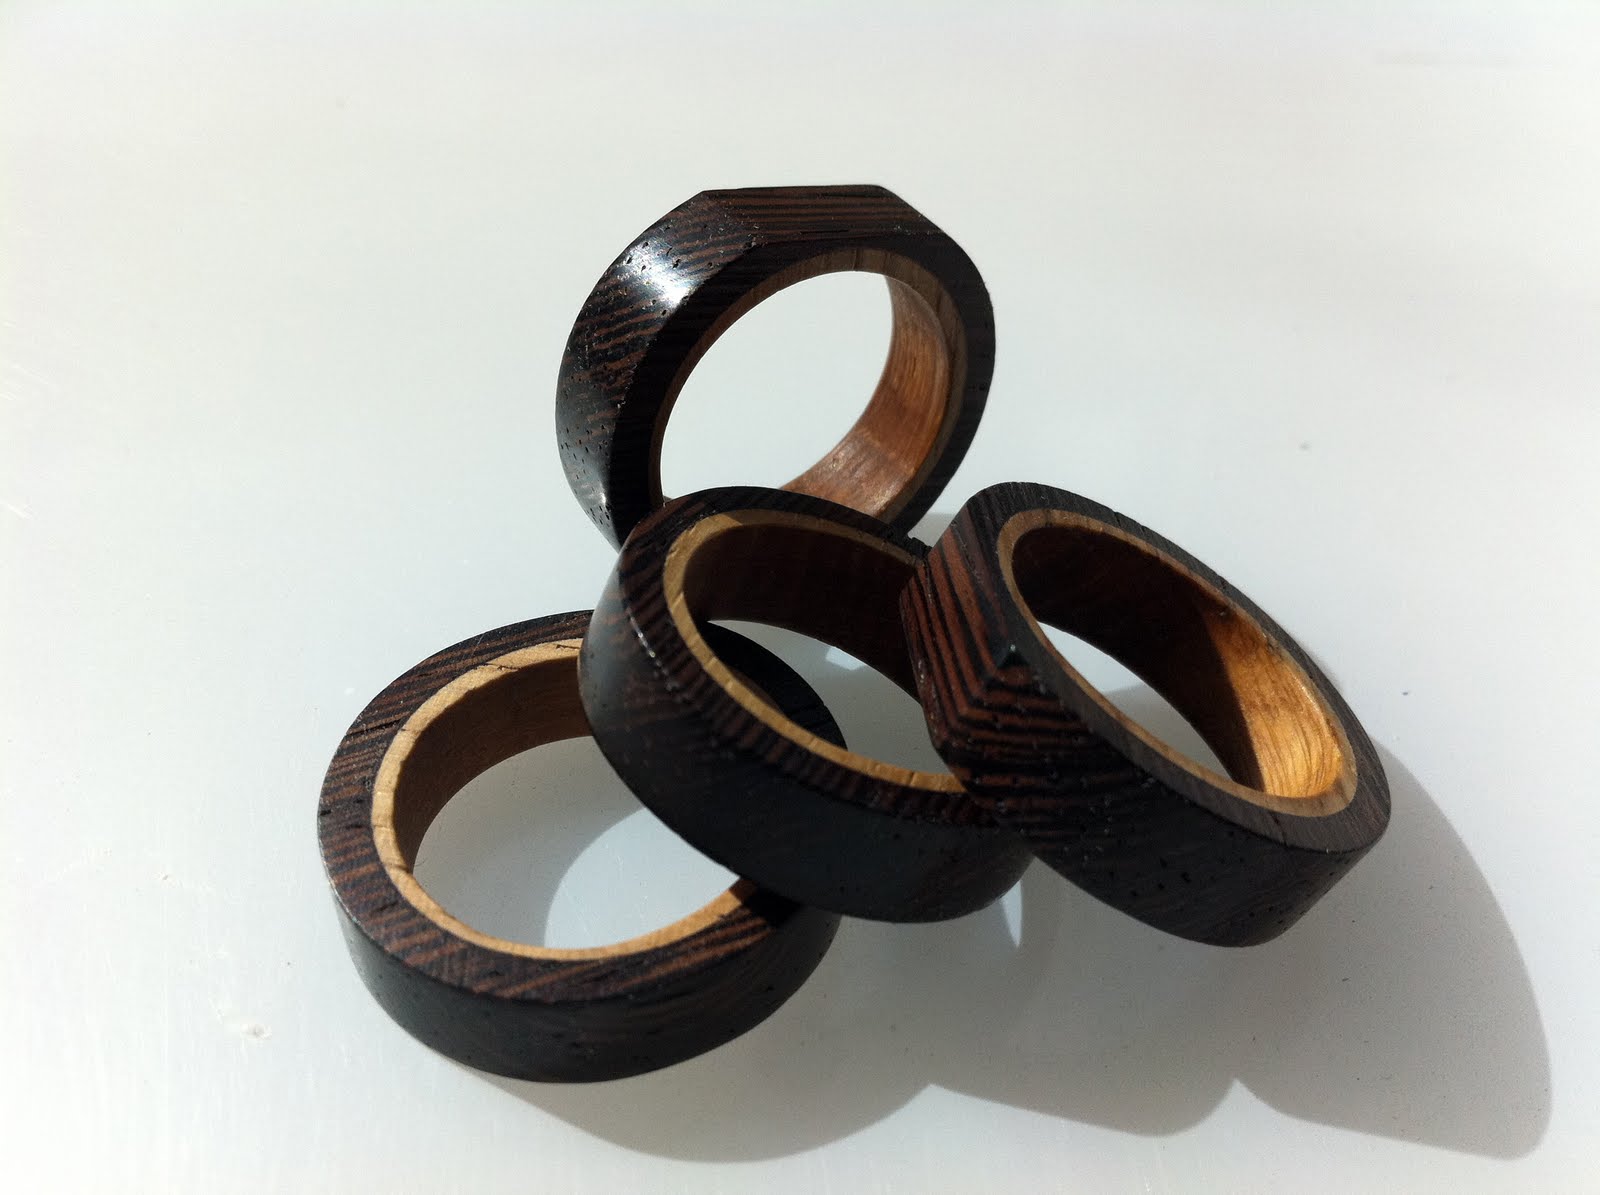
Below is a series of images taking you through the process that I use to make a Wenge and Oak ring. Although the process is the same for each ring, they are each completely unique as they are all hand crafted.
I first take a piece of Wenge and drill a series of holes into it. These holes must be large enough to fit the Oak inner ring inside. The Oak inner ring becomes the final ring size. I have made a series of rings at 3 different sizes so hopefully there is a size for everyone.
Here the Oak inner ring has been rough cut on a bandsaw ready for the next stage which is sanding to size.
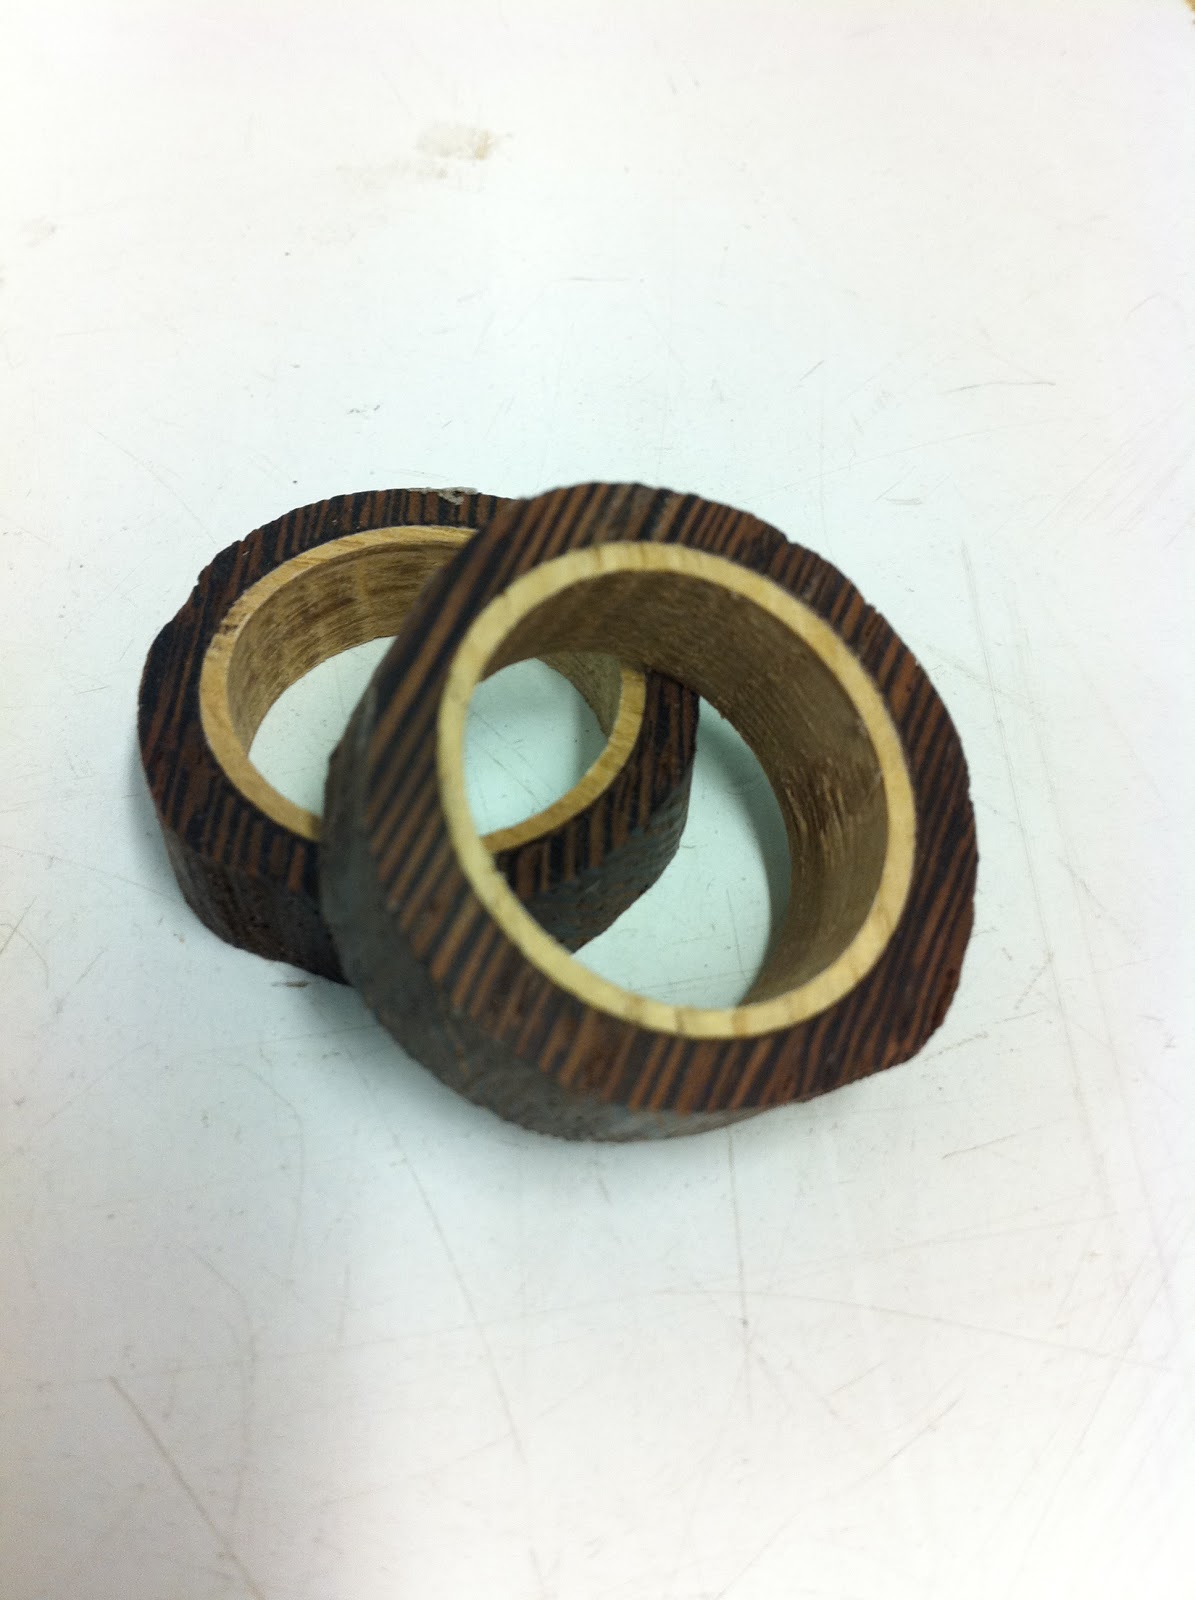
The rough cut outer Wenge and inner Oak rings, are now ready for sanding to their respective sizes.
The sanding is all done by hand and I have to judge the thickness of the Oak ring to perfection in order for it to fit snug inside the Wenge ring
With the Oak rings sanded to size they are then glued inside the Wenge outer ring.
I remove any excess again on the sander to leave them flat.
Back on the sander again, now is the point I sand to the finished overall size.
This is the point in the process when its all about the final finish. First I jam the ring on a spinning wooden dowel jig attached to a pillar drill and with very fine carbide paper, I sand until super smooth.
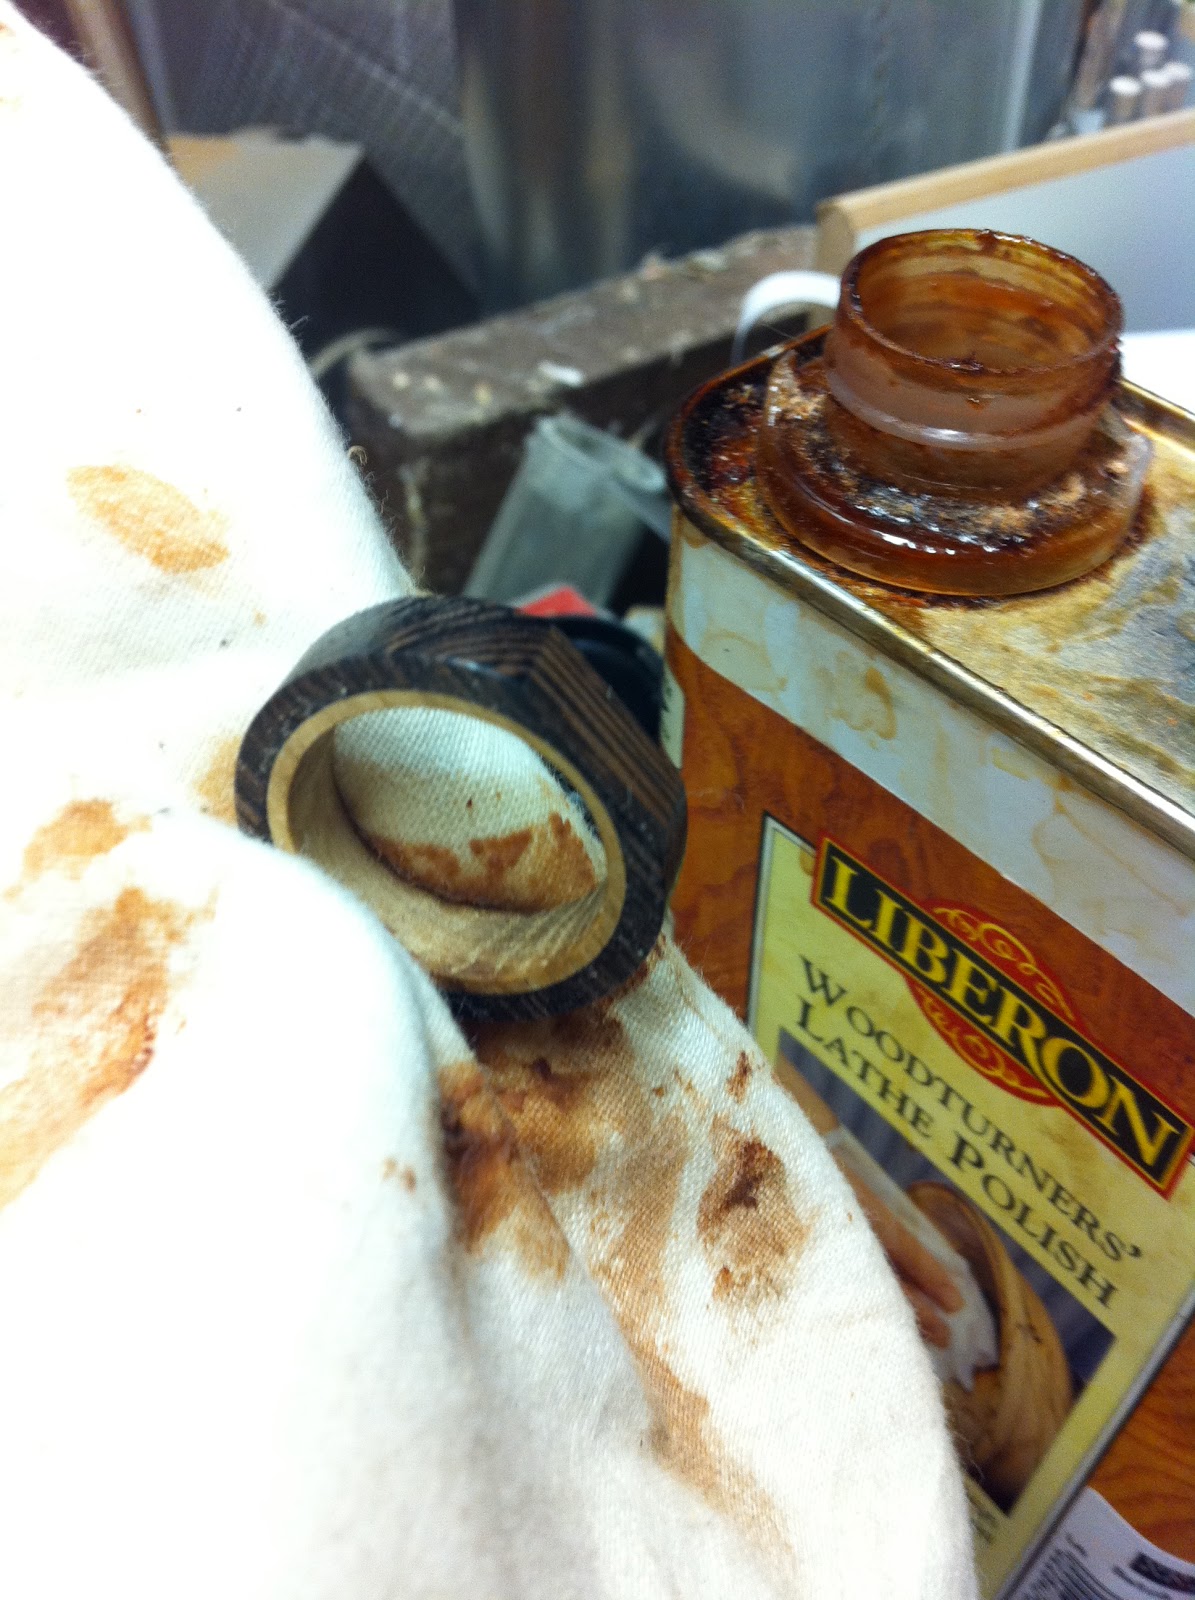
Almost there. An initial buff on the polishing wheel and its ready to have the finishing coat added. I use woodturners polish which is applied and left to soak in and dry.
With the polish dry its back on the wheel again to work on that glossy look. Like most processes the more time you put in the better the finish.
and done.


No comments:
Post a Comment